Mastering the Art of Welding with Precision Assembly Fixtures
Understanding Assembly Fixtures in Welding
The Role of Assembly Fixtures in Welding Processes
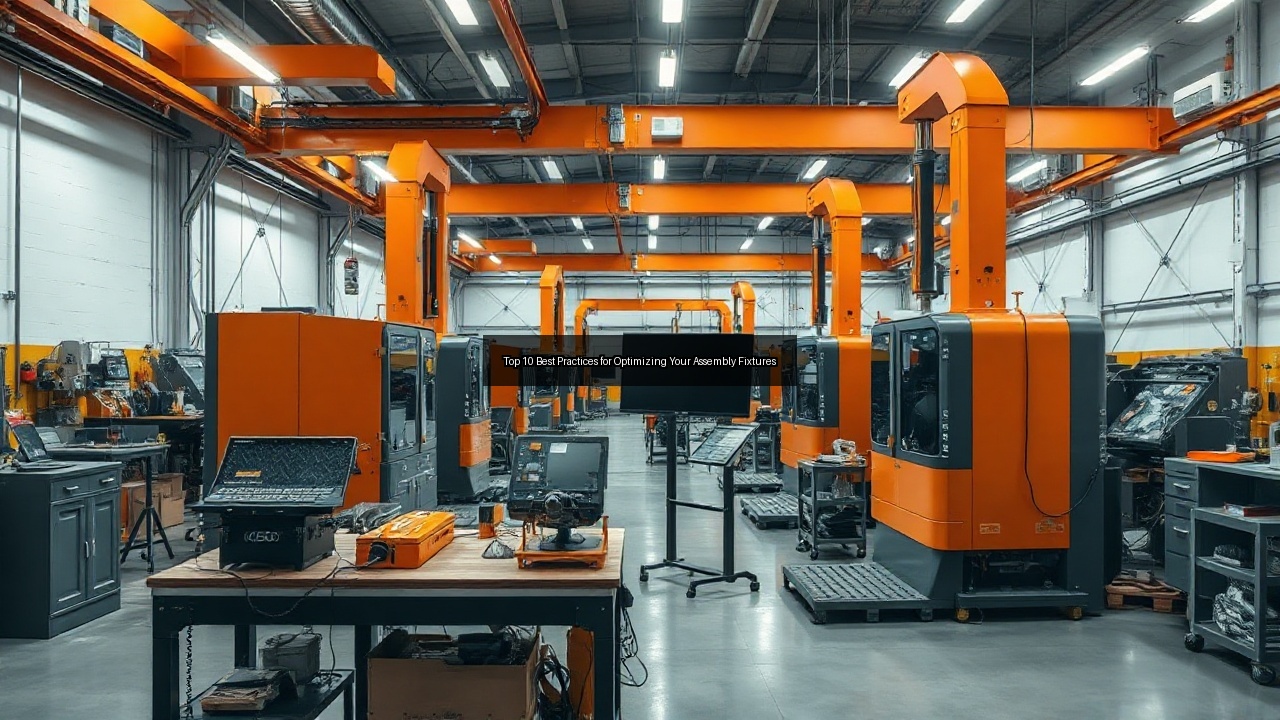
Assembly fixtures secure components during welding operations and deliver consistent results across production runs. Workers position parts precisely inside these fixtures so that weld joints align without distortion or gaps. This approach reduces rework and maintains tight tolerances on assemblies destined for automotive frames or structural frames. Fixturing also supports high-volume manufacturing where repeatability matters most. Proper setup allows welders to focus on technique instead of constant adjustments. In practice, engineers design fixtures that accommodate thermal expansion while keeping parts locked in place. The outcome shows up in stronger joints and faster cycle times. Assembly fixtures integrate directly with standard tooling stations and improve overall workflow on shop floors. They handle everything from thin sheet metal to heavy plate without compromising accuracy.
By constraining movement in six degrees of freedom, fixtures eliminate variables that commonly arise from manual positioning, such as angular misalignment or uneven gaps that lead to incomplete penetration. In automotive body-in-white production, for instance, fixtures ensure that door hinges and roof rails maintain positional accuracy within 0.2 mm, directly influencing crash performance and door-closing quality. The fixtures also integrate with robotic welding systems, allowing torch angles and travel speeds to remain constant from the first part to the last. Shops that implement pneumatic or hydraulic clamping within fixtures further reduce operator fatigue while achieving clamp forces that exceed 5000 N without deforming thin-gauge materials.
Types of Assembly Fixtures and Their Applications
Manufacturers choose from modular fixtures, dedicated jigs, and adjustable assembly tools depending on project scale. Modular systems use interchangeable plates and clamps for quick changeovers between different assemblies. Dedicated fixtures suit long production runs in the automotive sector where the same part repeats daily. Jigs guide both the workpiece and the welding torch in one rigid setup. Some fixtures incorporate vacuum tables for delicate panels while others rely on mechanical clamps for heavy structural steel. Applications range from small electronic enclosures to large agricultural equipment frames. Each type addresses specific layout requirements and supports different heat inputs during welding. Shops often combine multiple fixture styles on one line to maximize flexibility without sacrificing precision.
Modular tombstone-style fixtures, for example, allow a single base plate to accept dozens of interchangeable locators via standardized T-slots or grid patterns, cutting changeover time from hours to minutes in job-shop environments. Dedicated fixtures, by contrast, often feature cast-iron or steel weldments with integrally machined datums that remain stable through tens of thousands of cycles in high-volume lines producing pickup-truck frames. Vacuum-assisted fixtures prove especially valuable when welding aluminum body panels for electric vehicles, where surface marring from mechanical clamps is unacceptable. Hybrid solutions that blend modular bases with custom-machined locators have become common in the agricultural sector for welding combine-harvester headers that vary seasonally.
Importance of Precision in Fixture Design
Precision in fixture design determines final weld quality and part interchangeability. Engineers calculate locating points down to thousandths of an inch to eliminate play that causes misalignment. Accurate fixtures distribute clamping forces evenly so parts remain flat under heat. This attention prevents warping that ruins assemblies and wastes material. Precision also extends tool life because welding occurs in the correct orientation every cycle. Shops that invest in well-engineered fixtures report fewer defects and lower scrap rates. Design teams run tolerance stack-ups early to confirm that every locating surface supports the required geometry. The result appears in reliable production of complex welded structures that meet strict engineering specifications.
Finite-element analysis frequently supplements traditional tolerance stack-ups, predicting how fixture deflection under 200 °C weld heat affects final part geometry. When locating pins are placed at the part’s neutral axis and clamps are positioned opposite weld seams, residual stresses drop measurably, reducing post-weld straightening operations by up to 70 %. In pressure-vessel fabrication, such precision enables weldments to pass radiographic inspection on the first attempt, avoiding costly rework that can exceed 15 % of total labor hours.
Innovative Technologies in Fixture Design
3D Printing in Assembly Fixtures: Revolutionizing Manufacturing
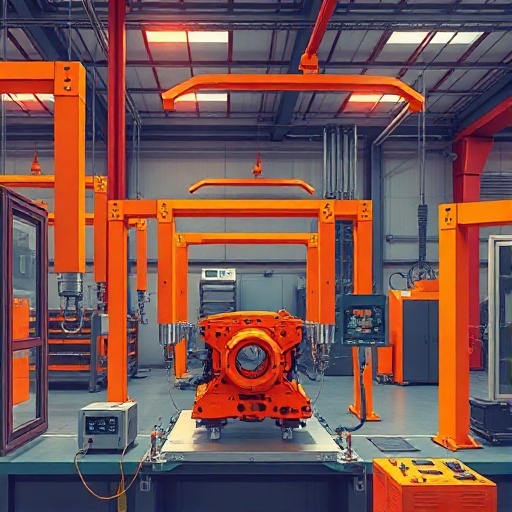
3D printing transforms fixture creation by allowing rapid production of complex shapes that traditional machining cannot achieve quickly. Engineers print lightweight yet rigid assembly fixtures from high-temperature polymers or metal powders using SLS technology. These 3D printed parts reduce lead time from weeks to days while cutting material waste. Shops test multiple iterations on 3D printers before committing to final tooling. The process supports custom fixturing for low-volume or prototype assemblies where conventional methods prove too expensive. Additive techniques also enable internal cooling channels that manage heat during extended welding sessions. Productivity rises because operators receive fixtures tailored exactly to each new part geometry.
Recent adoption of carbon-fiber-reinforced nylon filaments has produced fixtures capable of withstanding 180 °C continuous service while weighing 60 % less than aluminum equivalents. Metal 3D-printed fixtures using Inconel or tool-steel powders now appear in aerospace welding cells where fixtures must survive both high heat and aggressive chemical cleaning. Topology-optimized lattice structures printed directly into fixture bodies reduce thermal mass, allowing faster cool-down between cycles and lowering energy consumption in high-mix environments.
Utilizing Software for Fixture Design and Layout
Modern software packages let engineers model entire fixture assemblies in three dimensions before any metal is cut. Programs simulate clamp placement, weld access, and thermal effects within the digital layout. Teams evaluate multiple design options in hours rather than days. Software also generates tool paths for milling or drilling operations on the finished fixture components. Integration with CAD data from the actual assemblies ensures perfect fit from the first build. Shops that adopt these tools shorten development cycles and reduce costly mistakes on the floor. The software further supports documentation so future modifications reference accurate records of every fixture change.
Offline programming environments now incorporate virtual-reality collision detection, enabling welders to verify torch access and operator reach before steel is ordered. Digital twin models continuously update fixture performance data from shop-floor sensors, flagging when clamp pressure deviates from nominal values. Cloud-based collaboration platforms allow global engineering teams to iterate on the same fixture model simultaneously, cutting approval cycles from two weeks to two days in multinational automotive programs.
Integrating Advanced Tools and Technology for Enhanced Productivity
Advanced technology combines CNC milling, wire EDM, and automated drilling stations to produce high-accuracy fixture components. These tools create locating surfaces that hold tolerances across thousands of cycles. Shops pair them with robotic welding cells that reference the same fixture datums for seamless handoff. Productivity climbs when fixtures incorporate quick-release hardware and standardized mounting plates. Engineers also add sensors that monitor clamp pressure and part presence during production. The combined system reduces operator fatigue while maintaining consistent weld quality on every assembly that passes through the station.
Inductive proximity sensors embedded in fixture bases detect part presence within 0.1 mm and interlock the welding robot until correct loading is confirmed, virtually eliminating missed welds. Quick-change coupling systems using zero-point pallets allow a single robot cell to switch between four different assemblies in under three minutes. Data logged from these sensors feeds directly into statistical process control dashboards, enabling predictive maintenance that reduces unplanned downtime by 25 %.
Best Practices for Welding with Assembly Fixtures
Selecting the Right Tools and Materials for Fixtures
Best practices begin with material selection that withstands repeated heat cycles without deformation. Tool steel and aluminum alloys remain popular for their balance of strength and machinability. Shops match fixture hardness to the expected production volume and welding process. For high-heat applications, designers add copper inserts near weld zones to draw excess thermal energy away from critical surfaces. Hardware choices include precision dowels, clamps, and threaded inserts that allow easy maintenance. Proper tool selection also considers compatibility with existing machining centers so fixture repairs stay in-house. These decisions directly affect fixture longevity and the quality of finished welded assemblies.
Pre-hardened 4140 steel remains the workhorse for high-volume fixtures because it machines cleanly yet retains surface integrity after 50,000 cycles. When weight matters, 6061-T6 aluminum with hard-coat anodizing offers corrosion resistance and thermal conductivity that helps dissipate weld heat. In stainless-steel welding environments, 17-4 PH fixtures resist spatter adhesion while maintaining dimensional stability through precipitation-hardening cycles.
Design Considerations for Optimal Heat Distribution
Effective fixture design channels heat away from sensitive areas to protect both the workpiece and the fixture itself. Engineers place supports strategically so that weld heat dissipates evenly rather than concentrating in one spot. Some fixtures include water-cooling passages or heat-sink fins machined directly into the body. Proper layout prevents localized expansion that throws parts out of alignment mid-weld. Testing with thermal imaging helps validate the design before full production begins. Shops that master heat management produce cleaner welds with fewer post-weld corrections on every assembly.
Strategic placement of copper or graphite heat-sink blocks adjacent to longitudinal seams reduces peak temperatures by 80 °C, minimizing distortion in 3 mm aluminum sheets. Water-cooling circuits routed through the fixture base maintain locator temperatures below 60 °C during continuous robotic welding, extending polymer seal life and preserving datum accuracy. Thermal imaging during qualification runs routinely reveals hot spots that prompt relocation of supports or addition of fins before production release.
Implementing Threaded Inserts and Other Hardware Solutions
Threaded inserts provide durable mounting points that survive repeated assembly and disassembly cycles. Designers embed these inserts during initial machining so they sit flush and resist pull-out under clamp loads. Additional hardware such as spring-loaded locators and toggle clamps speeds part loading while maintaining accuracy. Engineers document all hardware specifications so replacement parts arrive ready to install. This approach keeps downtime low and preserves the original fixture geometry across its service life. Consistent hardware choices also simplify training for new operators working with multiple fixture types.
Key-locking inserts installed with anaerobic adhesives withstand clamp torques exceeding 200 Nm without rotation, while self-clinching studs allow rapid field replacement without removing the fixture from the cell. Color-coded toggle clamps and RFID-tagged locators further reduce setup errors, enabling cross-trained operators to achieve first-part-correct performance within two shifts.
Challenges and Solutions in Fixture Utilization
Cost-Effective Strategies for Fixture Manufacturing
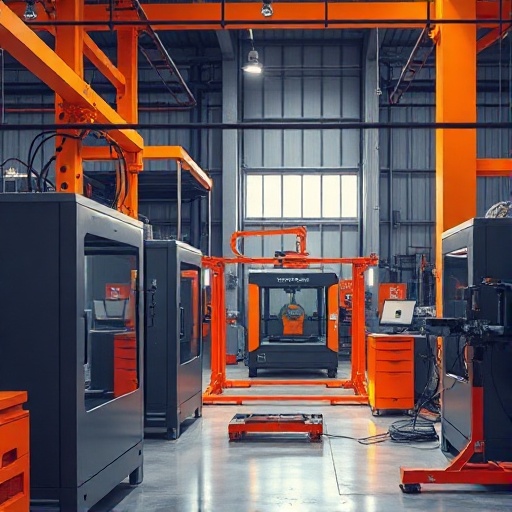
Cost pressures drive shops toward hybrid approaches that combine 3D printed prototypes with final machined fixtures. This strategy validates designs before committing to expensive tooling. Modular fixture systems further reduce cost by reusing base plates across different assemblies. Engineers standardize clamp styles and locating features so one set of hardware serves many projects. Careful planning of machining operations also minimizes scrap and shortens setup times. These steps keep fixture investment proportional to production volume while preserving quality.
Many fabricators now employ a staged release process: low-cost 3D-printed fixtures prove concept and ergonomics, followed by aluminum prototypes for 500-part validation runs, and finally steel production fixtures only after yield targets are met. Standardization on a single clamp manufacturer across all modular systems reduces spare-parts inventory by 40 % and simplifies operator training.
Addressing Common Issues in Welding Assemblies
Common problems include part movement under heat and fixture wear after extended use. Solutions start with regular inspection of locating surfaces and replacement of worn components before tolerances drift. Adding diamond-coated wear pads on high-contact areas extends fixture life. Shops also implement standardized cleaning routines that prevent weld spatter from interfering with subsequent setups. When issues arise, teams trace problems back to specific fixture features and adjust the design accordingly. Consistent monitoring keeps assemblies within specification throughout long production runs.
Weekly CMM audits of critical datums combined with go/no-go gauge checks at the start of each shift catch wear before it affects weld quality. Application of ceramic-filled epoxy wear compounds on high-abrasion surfaces extends service life of locating pins by three to five times. Spatter-resistant coatings applied every 2000 cycles maintain smooth loading surfaces and reduce cleaning labor by half.
Improving Efficiency: The Role of Jigs and Machining Techniques
Jigs and precision machining techniques raise overall efficiency by reducing manual alignment time. Multi-axis milling produces complex fixture contours in single setups, eliminating secondary operations. Shops combine these capabilities with quick-change jig bases that allow operators to swap assemblies rapidly. The result shows up in higher throughput without added labor. Regular maintenance of cutting tools ensures every machined surface meets the tight tolerances required for reliable fixturing. This disciplined approach turns fixture utilization into a competitive advantage across welding operations.
Five-axis machining of monolithic fixture bodies removes the need for welded sub-assemblies, improving rigidity and eliminating the distortion that welded constructions can introduce. Quick-change bases with integrated air-blast cleaning ports allow operators to clear debris in seconds, supporting one-piece-flow cells that achieve overall equipment effectiveness above 85 %. Tool-life management software that tracks insert wear and automatically adjusts feed rates keeps surface finishes within 0.8 µm Ra, ensuring consistent locator performance over the fixture’s entire service life.
See Also
- Heat Management Strategies in Assembly Fixture Applications
- The Impact of Software on Assembly Fixture Development
- Revolutionizing Manufacturing Efficiency with Advanced Assembly Fixtures
- Boosting Productivity in Machining with Innovative Fixture Designs
- Harnessing Technology to Streamline Assembly Fixture Design